A Smartboard is a great tool to have in the classroom. It lets us do much more than a regular blackboard or whiteboard.
Today, I am going to show you how to use the built-in picture library.
Say you wanted to get an image of a soccer player for a lesson. Without a Smatboard, you probably would have drawn a stick-figure on the board and a circle beside the player to represent the ball.
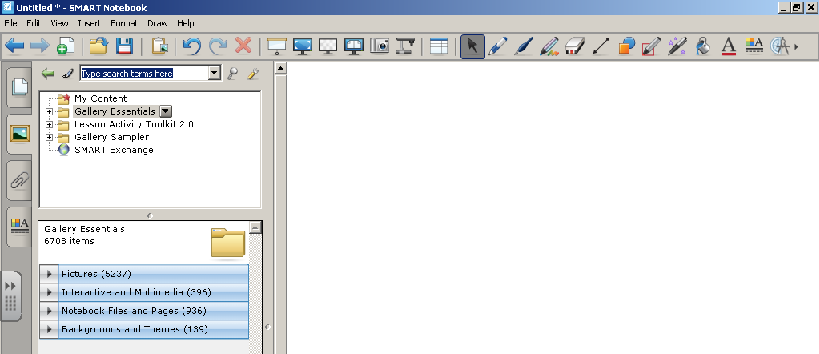
Now, you can let your Smartboard be the artist for you. Simply, click on the picture frame icon on the left side of the screen. You will see a search bar appear above several folders.

Type in whatever image you would like to find. I typed in “soccer”
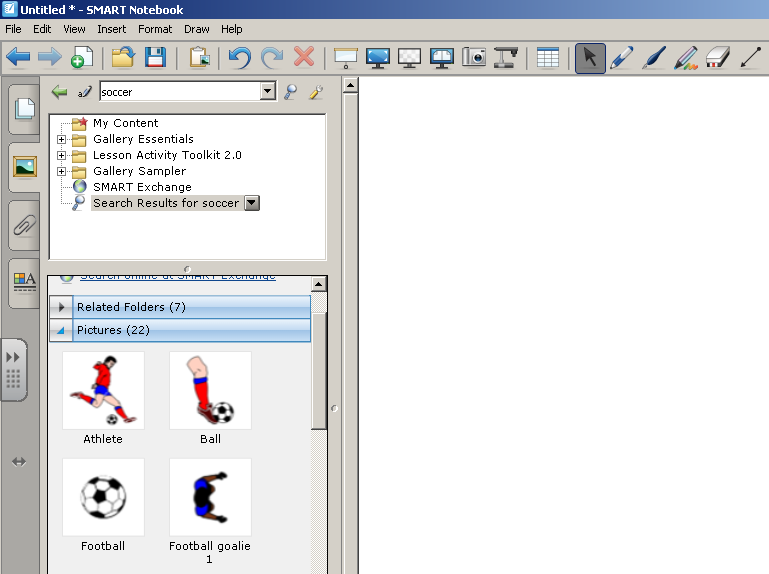
As you can see, there are seven folders that contain soccer images and altogether there are 22 soccer pictures in the gallery. All you need to do now is select the image you want and drag it into the white space of the page.
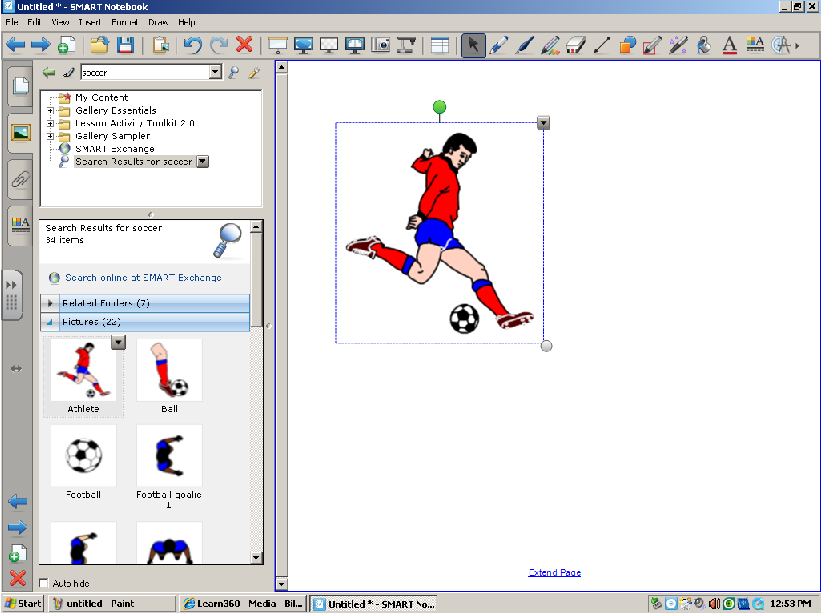
You can then click and drag the small grey circle in the bottom right corner to expand the image or to make it smaller.
There are a lot more things you can do with the images such as grouping them together, sending an image to the back so it can hide behind other images, and simple animations. The best way to learn what you can do with the Smartboard is to just give yourself some time to experiment with all of the functions. You can also find some Smartboard lessons and tips online that you can use as a starting point to creating your own Smartboard files and projects.
I hope you have found today’s tutorial useful. You may also want to check the Teaching Tip Tuesday Archive, it is updated every week with a brand new tip, lesson, or idea that you can use in the classroom.
Teachers helping teachers is what this series is all about.
4 responses to “Let the Smartboard be Your Artist”
Hi Chase .. I must say – it must make life so much easier for teachers ..
I'm sure that sort of thing is available for us too somewhere .. members of the public – one day I shall catch up ..
Mixing senses gives us all the chance to absorb new thoughts .. cheers Hilary
Hi Hilary,
Some teachers use it the same way they would a regular chalkboard. Others use it as a glorified computer projector. But it can do so much more and it's so easy to use.
I would love to have one of these things at home. It's like having a large touch screen television. It can do so many things too.
I have never seen one outside of a school setting, but I think they could have uses in Nursing Homes and public libraries too.
I love using the Smartboard for my teaching. I've used it for everything from a chalkboard, to a film projector, to a dance teacher (YouTube Just Dance 3 for some great DPA workouts), to an attendance checker, to a completely interactive small group self-guided lesson. I love having students work through problems on it together so I can save their work as a separate file. I've also had students use the Notebook software to create their own lessons to accompany presentations for a variety of classroom subjects.
Hilary, although you may not be able to access the actual Smartboard you can download the Notebook software for free and create your own non-touch screen, but still interactive and clickable presentations. All you need is the code off the bottom of any Smartboard in order to download the software as the codes can be used multiple times.
Chase, I don't know about your schools, but my school board this year allocated funding to provide one Smartboard for every three classrooms in each school. Our board was one of the first to get Smartboards as a teacher/university B.Ed. prof. had them donated to some schools through a research grant she was given for a mathematics study.
Hi Amber,
I forgot about the dance teacher aspect. I've done that before as well and even though we were simply watching a video game, the kids were active, engaged, and dancing like crazy. It's really a great classroom activity. Thanks for reminding us of that. I should write an entire post about teaching dance.
I also like your idea of using it as a self-directed centre.
Sounds like you have some great ideas and are utilizing technology effectively in your class. I think there are teachers who have this great resource and are not using it to its full potential.
Thanks for all the great ideas!